Satisfactory: read node purity before planning a line
A resource icon does not tell you the output of every miner placed on it. Node purity, miner tier and clock setting matter. Read those conditions together before planning downstream machines, then compare the displayed output with what the transport system can actually carry.
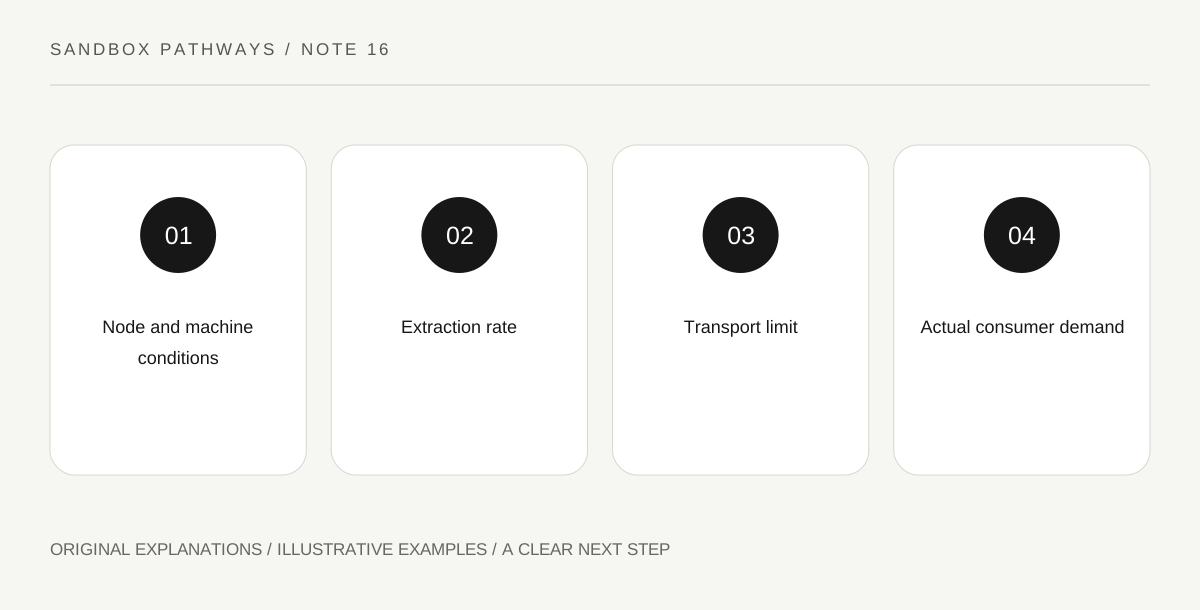
Original explanatory diagram. Read the full method and limitations below.
Identify the complete extraction setup
The official wiki’s production table separates node purity, miner tier and clock speed. Treat those as three fields rather than remembering one number for iron or copper. A plan saying one miner produces this much is incomplete unless the conditions are specified. Stand at the actual setup and inspect its information before drawing the factory. Record resource, purity, machine and current setting. This makes the plan reproducible within your save. It also explains why another player’s screenshot can show a different output without either factory being broken: the underlying extraction conditions may differ.
Use one verified rate at a time
At ordinary 100% clock speed, the cited table shows a Miner Mk.1 producing 60 items per minute on a normal node and 120 on a pure node. These are source-based examples, not a universal rate for every miner. Use the current machine display to confirm the case you are planning. Write the unit beside the number. Items per minute is a flow rate, not an amount already waiting in storage. A drawing that labels a box 120 without its unit can blur that distinction and make later calculations harder to inspect.
Keep extraction separate from delivery
A miner’s potential output does not establish what reaches a distant machine. The conveyor path can impose its own throughput limit, and downstream demand can differ again. Draw three separate values: extraction, transport and intended consumption. If one is smaller, identify where the restriction occurs before adding another production machine. This prevents an increase in mining capability from being mistaken for a complete line upgrade. The useful question is not simply whether the node is rich, but whether each stage can support the flow your chosen output requires. Trace the actual connected route rather than an imagined direct link.
Plan a modest first expansion
Choose one downstream task and calculate its demand using the actual recipe and settings shown in your game. Do not copy a full layout whose alternate recipes or clock settings are unknown. Compare that demand with the extraction and transport values you recorded. Then add only the capacity needed for the next clear task, leaving space for an understood expansion route. After construction, observe whether the line settles into the expected behavior. A discrepancy is a reason to inspect the three fields again, not to assume the node’s purity changed. Keep the original plan so you can identify which condition was misread.
Keep a copy of the machine’s actual displayed settings beside the sketch.
Illustrative factory exercise
A normal node with a Miner Mk.1 at 100% has a cited nominal output of 60 items per minute. A pure-node example at the same tier and setting has 120. Write both conditions beside the rates. If your transport only carries 60, changing to the pure-node setup does not automatically deliver 120 through that unchanged route.
Practical checks
Optional checkboxes save only in this browser.
Questions that come up
Does every node of one resource give the same rate?
No. The production table distinguishes purity, machine tier and clock speed. Use the complete setup.
Does a higher extraction rate guarantee higher final output?
No. Transport and downstream processing can still limit the line. Inspect each stage before attributing a result to the miner alone.
References and scope
These sources support the factual background. Examples and exercises are original illustrative teaching material. References do not imply endorsement.
- Official Satisfactory Wiki: miner production table — Miner output depends on machine tier, purity and clock speed; indexed official-wiki table read.
- Official Satisfactory Wiki: belts — Belt mark and throughput limits; indexed official-wiki content read.