Minecraft: build a first-night workspace
A first Minecraft shelter does not need to become your permanent house. Its immediate job is to create a usable place to wait, craft and organize while the Overworld becomes more hazardous. Practise a small enclosure before adding decorative rooms or ambitious underground routes.
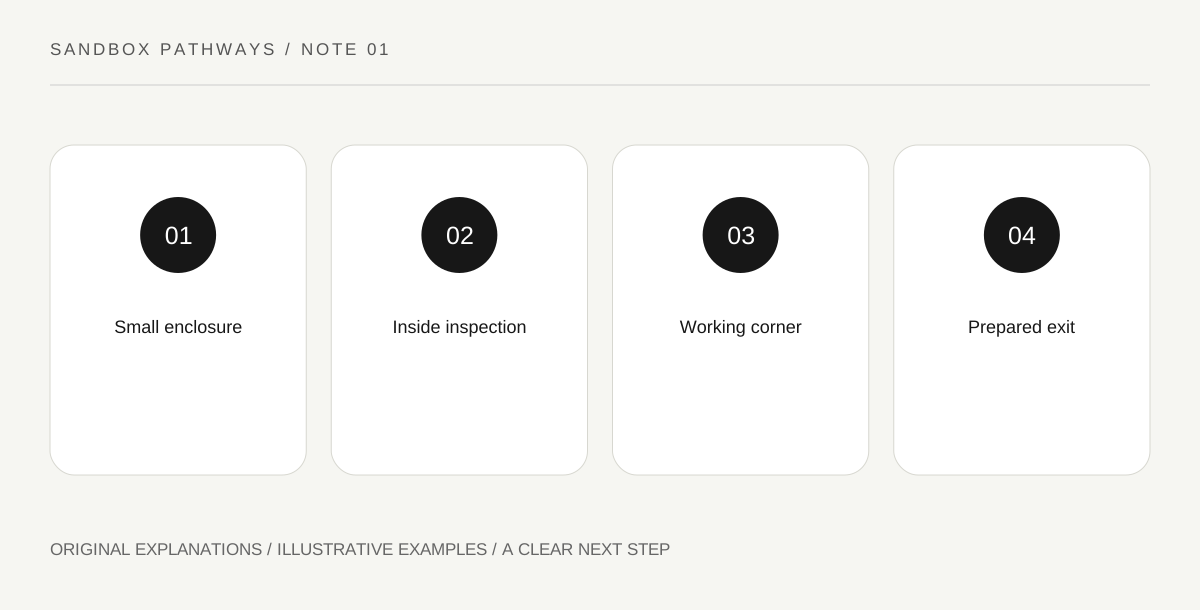
Original explanatory diagram. Read the full method and limitations below.
Choose a compact task
In Survival, the official first-night guide presents shelter and light as practical responses to hostile mobs. For your first exercise, choose one modest goal: an enclosed working space with a recognizable entrance. Stay near materials you can already obtain instead of searching for an ideal landscape while daylight passes. A hillside nook or a small freestanding room can both be useful starting ideas. The learning task is closing a space deliberately, not winning a design competition. Keep the exterior simple enough that you can explain where its openings are and how you intend to leave.
Walk the enclosure from inside
After placing the outline, stand inside and inspect it at player height. Look for an unfinished opening, a missing overhead section or an entrance you cannot close as intended. Do not judge the structure only from a distant screenshot. A room can look complete from one angle while leaving a route you overlooked. Put frequently used blocks within easy reach in your inventory before adjusting the opening. This reduces the chance of selecting an unrelated item under pressure. Lighting helps manage dark spaces, but it should complement the enclosure rather than substitute for understanding its boundaries.
Arrange a small working corner
Place the crafting facilities you have available where you can reach them without blocking your own movement. Leave an obvious standing area and keep the entrance recognizable. An original layout exercise is to reserve one corner for work and one side for expansion, instead of filling every tile immediately. This gives later improvements somewhere to go. If you decide to extend the room, complete one replacement boundary before removing the old one. The useful skill is maintaining an understandable space during changes. A small functional corner can support learning even when the building remains temporary and visually plain.
Use the night to prepare the next outing
Make a short list of what tomorrow’s outing needs: appropriate tools, food if available, building blocks and a way to recognize home. Organize these before reopening the shelter. Do not assume daylight eliminates every threat; the official guide notes exceptions among mobs. Check the surroundings instead of stepping outside automatically at the first brighter view. On the next day, improve one weakness you actually noticed, such as an awkward entrance or poor visibility. This produces a clear learning loop: build, inspect, use and revise. It does not require an elaborate base or a promise of complete safety.
Illustrative practice scenario
Imagine you have enough common blocks for a small room but no time for a decorative roofline. Build the enclosure first, inspect its top and entrance, then create a working corner. When you later expand, keep the first room usable until the second boundary is complete. The example prioritizes a functioning space over finishing every idea in one night.
Practical checks
Optional checkboxes save only in this browser.
Questions that come up
Must my first shelter be permanent?
No. A temporary workspace can teach the necessary building decisions. Expand or relocate after understanding the area and the resources available.
Does lighting replace a wall?
No. Light and enclosure address different aspects of a situation. Understand openings and nearby threats instead of treating either measure as a universal guarantee.
References and scope
These sources support the factual background. Examples and exercises are original illustrative teaching material. References do not imply endorsement.
- Minecraft: first-night survival — Shelter, light and first-night Survival context.