Minecraft3 min read
A first Minecraft shelter does not need to become your permanent house. Its immediate job is to create a usable place to wait, craft and organize while the Overworld becomes more hazardous. Practise a small enclosure before adding decorative rooms or ambitious underground routes.
Read the guide ↗
Minecraft3 min read
When a Minecraft recipe seems unavailable, the problem may lie earlier in the material chain. Learn to work backwards from the desired output, identify the required ingredients and use the appropriate crafting interface instead of collecting unrelated resources at random.
Read the guide ↗
Minecraft3 min read
Coordinates become useful when you connect numbers to movement and terrain. Practise returning to a nearby known point before using them for a long expedition. A small exercise teaches the axis roles while showing why an exact destination still needs a traversable route.
Read the guide ↗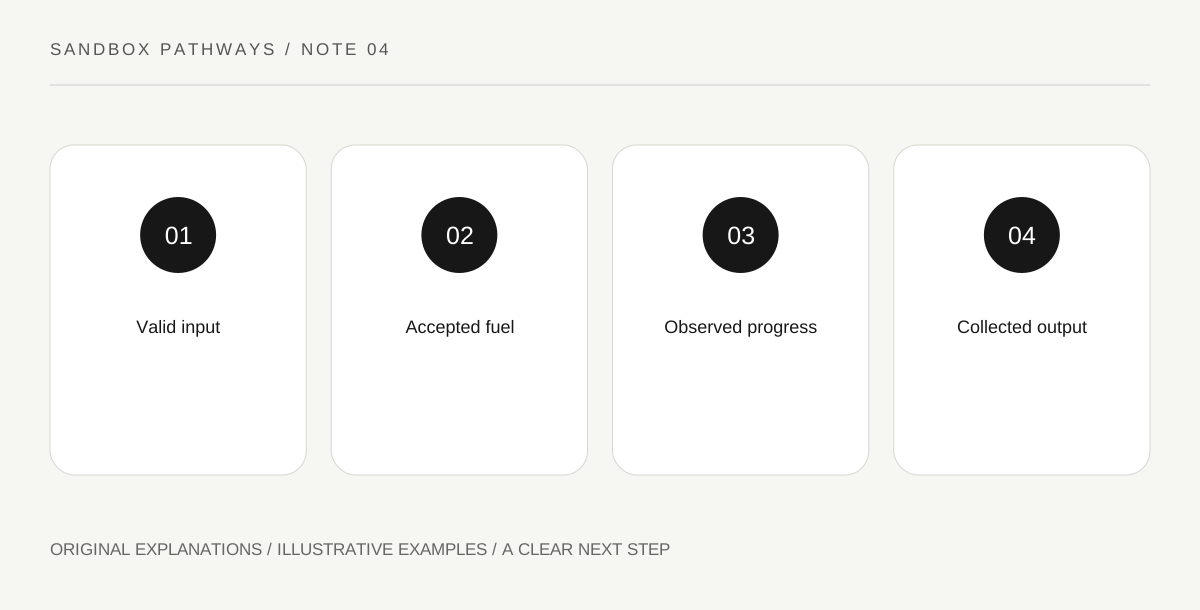
Minecraft3 min read
A furnace has a simple transformation to perform, but several different missing conditions can make it appear idle. Read the input, fuel and result separately. A small controlled smelting task is easier to understand than repeatedly swapping every item in the interface.
Read the guide ↗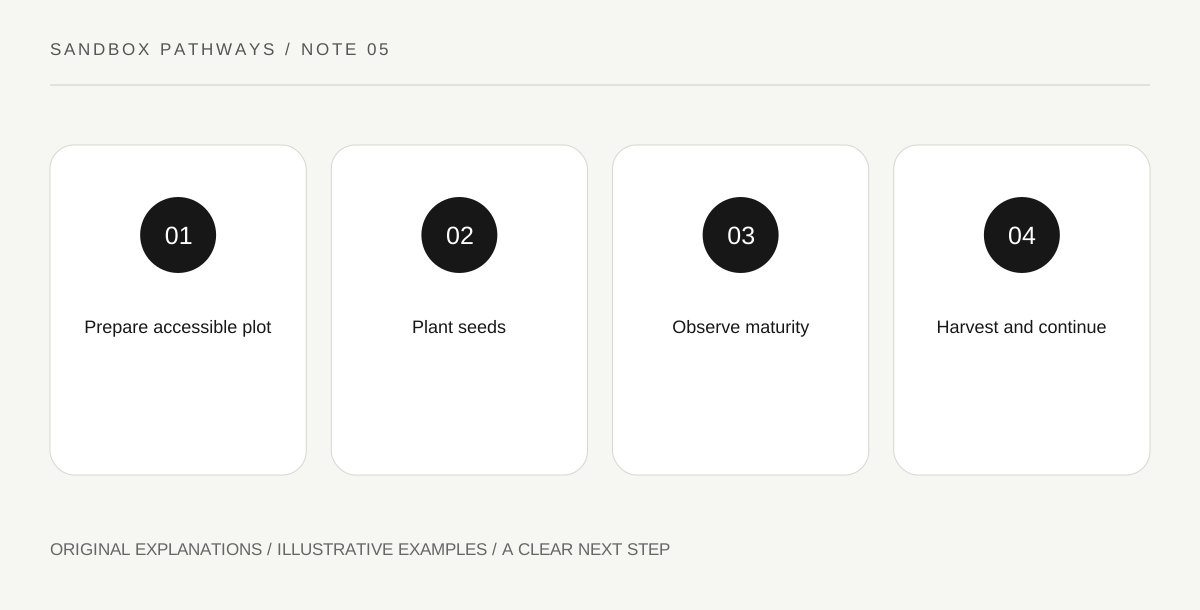
Minecraft3 min read
A compact wheat plot can teach the whole farming loop without becoming a large construction project. Prepare accessible farmland, plant seeds, observe development and reserve a clear purpose for the harvest. Keep the first exercise small enough that every planted position can be checked.
Read the guide ↗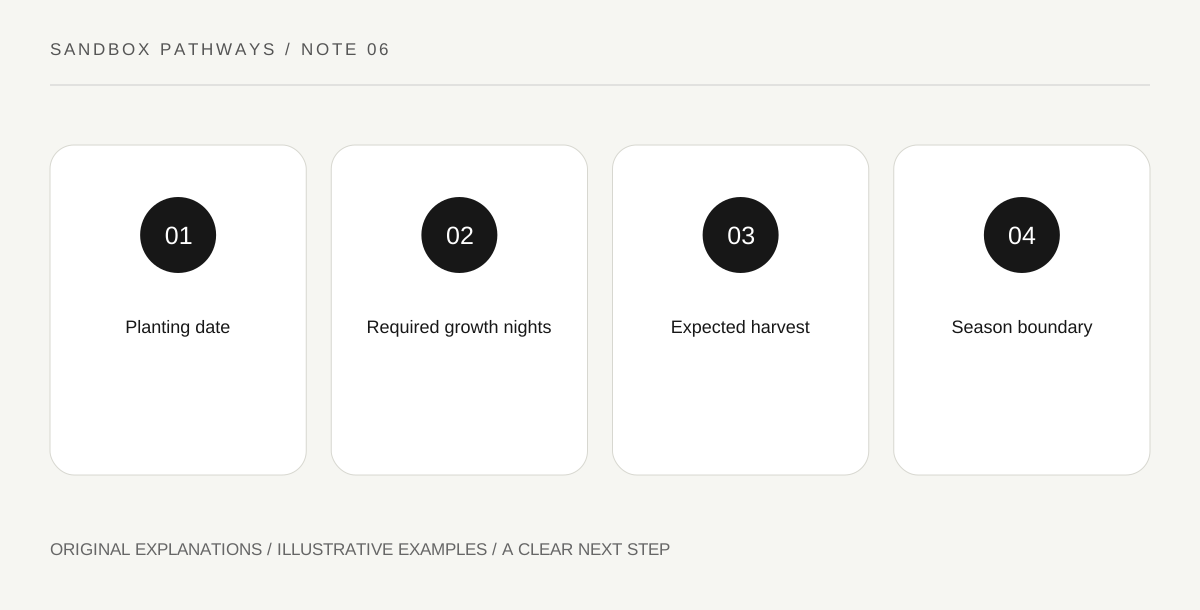
Stardew Valley3 min read
A crop’s listed growth time does not include its planting day. Near a season boundary, that small distinction changes whether a planting can be harvested. Practise the calendar calculation before buying more seeds, then leave room for the watering and access the plan actually requires.
Read the guide ↗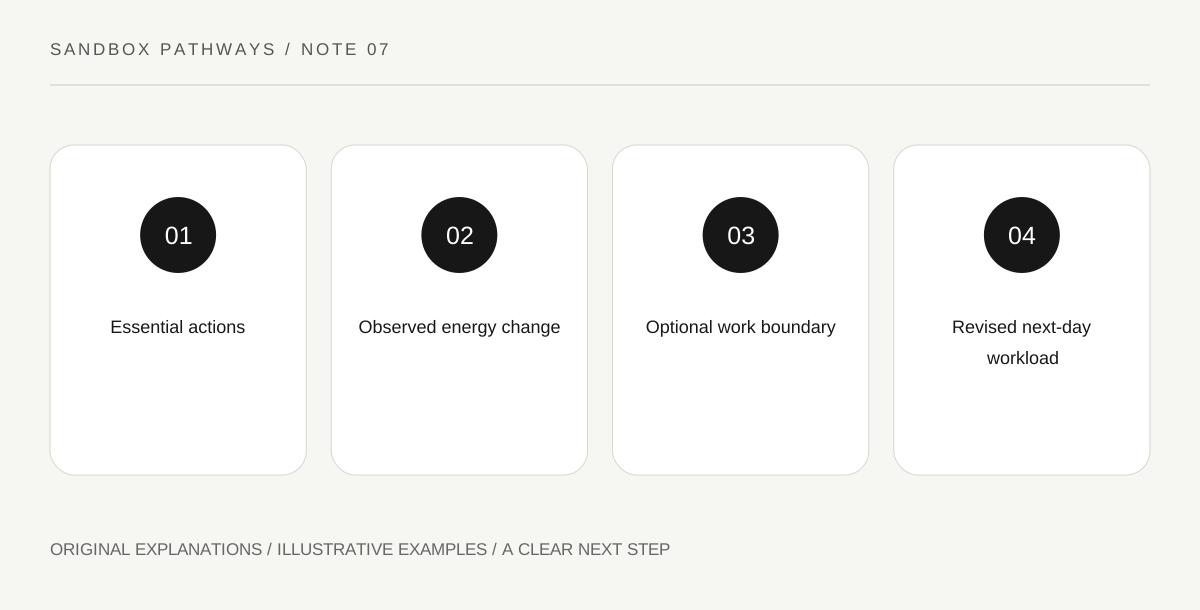
Stardew Valley3 min read
A day can have time remaining while your farmer has little energy left. Treating those as separate resources makes early farm work easier to plan. Build a small action budget, observe how tool use changes it and keep an exit from optional work.
Read the guide ↗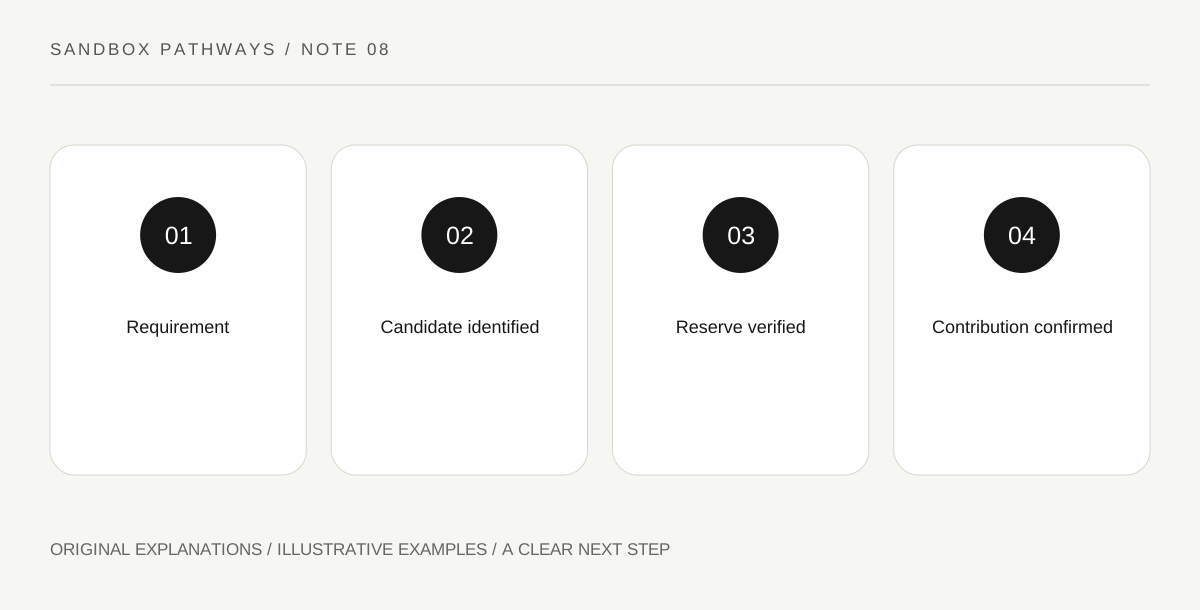
Stardew Valley3 min read
A first seasonal item can be worth more to a collection goal than an immediate sale. Build a small bundle-reserve system based on the requirements in your own save. Check item, quantity and quality separately so the storage decision matches the actual objective.
Read the guide ↗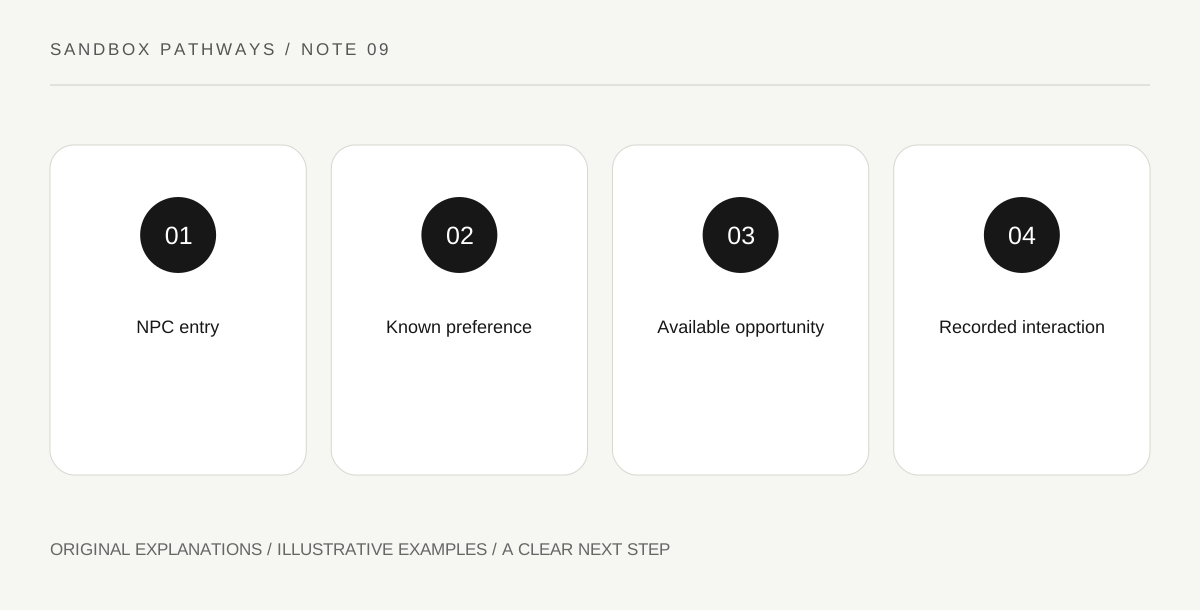
Stardew Valley3 min read
Stardew Valley villagers have individual gift preferences. A repeatable learning routine uses the Social Tab, the Gift Log and a small planned route. Keep evidence about one NPC separate from guesses about the whole town or assumptions based on an item’s price.
Read the guide ↗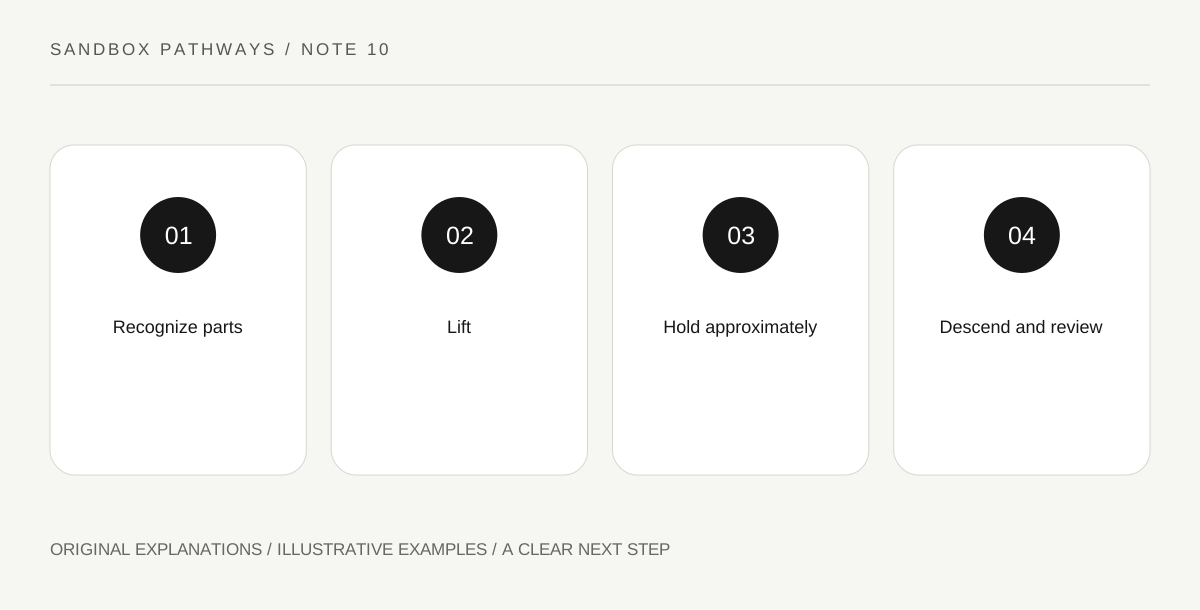
Stardew Valley3 min read
The fishing minigame asks you to keep a moving fish within a controlled bar. New players often overcorrect, holding the input too long and chasing the last movement. A short practice session can separate lifting, holding and descending before adding harder catches or extra rewards.
Read the guide ↗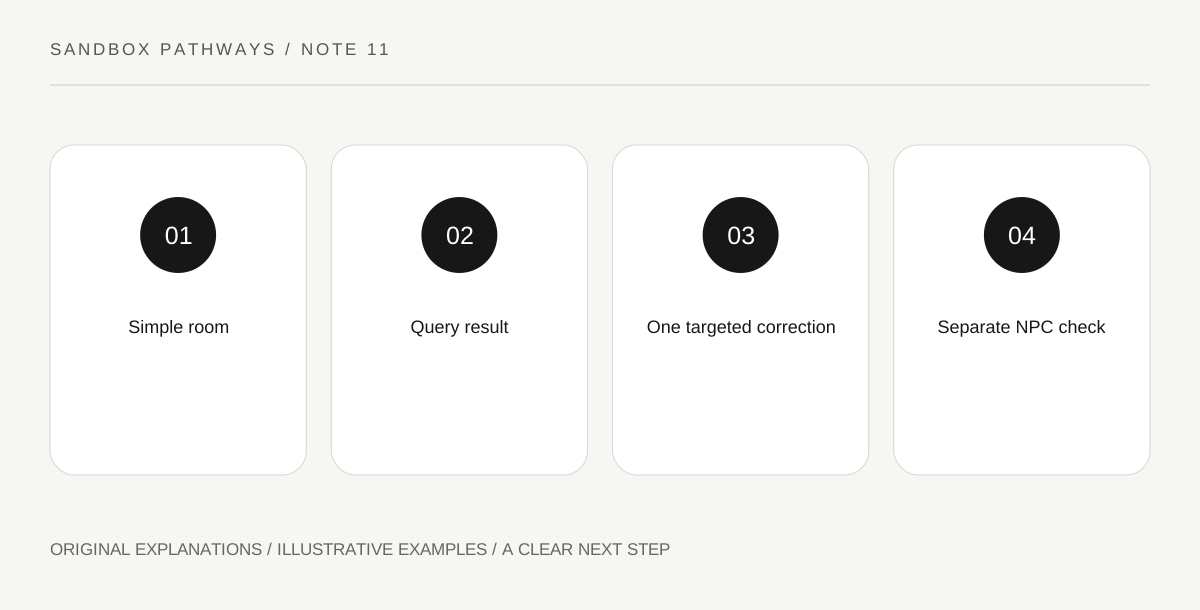
Terraria3 min read
A room that looks like a house may still fail Terraria’s NPC housing checks. Instead of rebuilding blindly, use the housing query and inspect the reported category. Separate frame, background walls, furnishings and usable space so each correction addresses an actual missing condition.
Read the guide ↗
Terraria3 min read
Finding an unfamiliar material does not tell you which item to craft next. Terraria’s Guide can show what a material participates in and which station a recipe needs. Turn that information into one achievable dependency chain rather than treating the whole recipe list as a shopping assignment.
Read the guide ↗
Terraria3 min read
A tool can be better at reaching a new block threshold without being the fastest choice for every ordinary block. Terraria’s pickaxe information distinguishes power and mining speed. Read both before replacing a tool simply because one number or combat statistic looks larger.
Read the guide ↗
Terraria3 min read
An arena is a movement space built for a particular challenge. Before adding elaborate support items or summoning anything, test whether your character can actually use its platforms. A short dry run reveals awkward jumps, blind turns and blocked routes while you still have time to change them.
Read the guide ↗
Terraria3 min read
Returning with a mixed inventory can become a long sorting session if every chest looks interchangeable. Build a small storage map around your actual crafting and outing routine. A clear return loop helps you find materials again without turning organization into a separate large construction project.
Read the guide ↗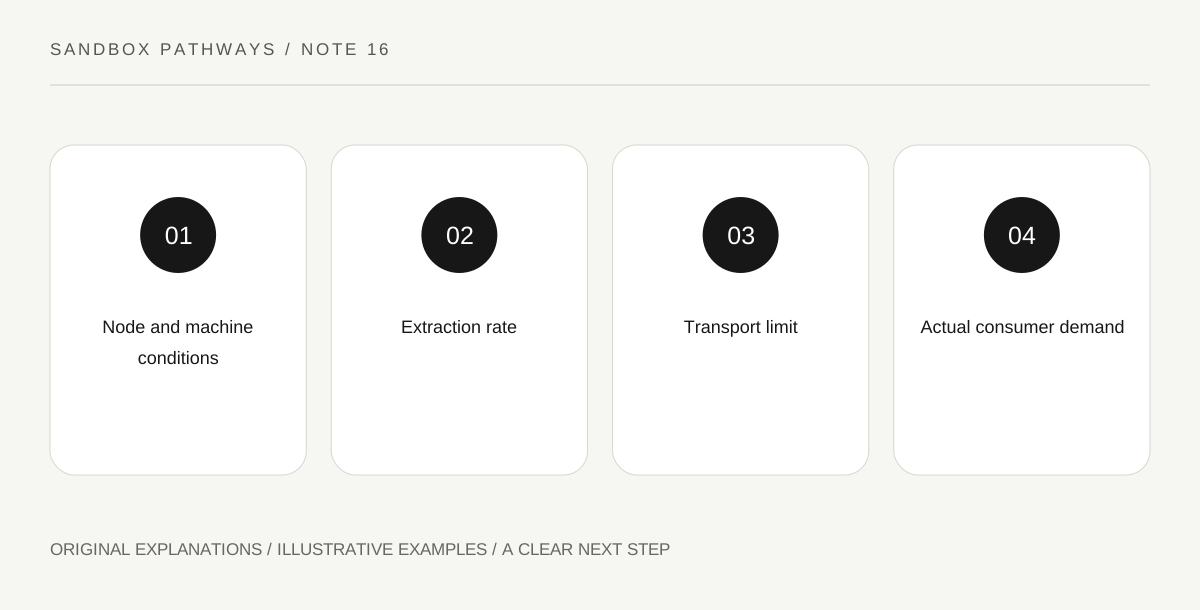
Satisfactory3 min read
A resource icon does not tell you the output of every miner placed on it. Node purity, miner tier and clock setting matter. Read those conditions together before planning downstream machines, then compare the displayed output with what the transport system can actually carry.
Read the guide ↗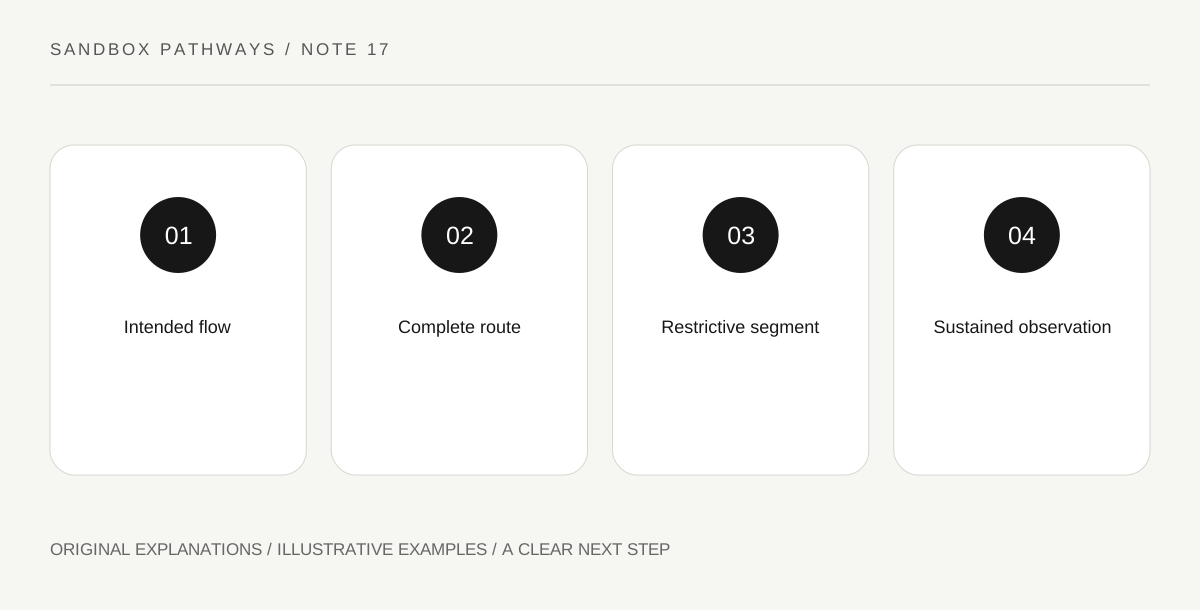
Satisfactory3 min read
A production line can contain a fast-looking conveyor route with one slower segment still inside it. Diagnose throughput by following the complete path, including short connections and lifts. Upgrading a visible long section does not establish the capacity of every connected part.
Read the guide ↗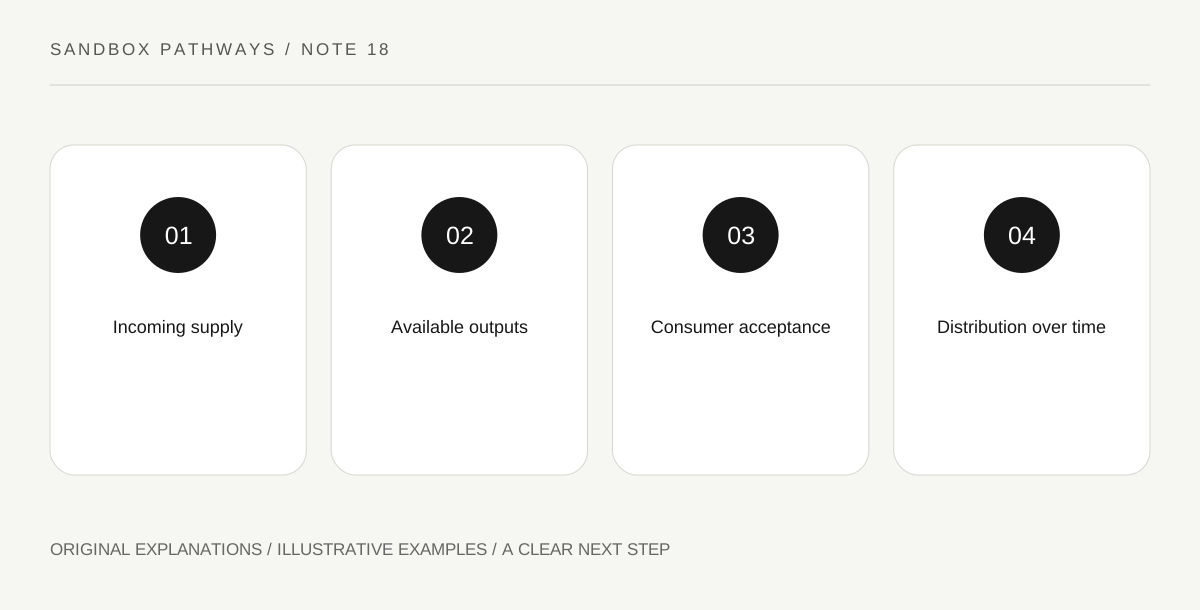
Satisfactory3 min read
A basic splitter does not create extra resources or guarantee a permanent three-way flow. It distributes incoming items among its usable outputs, and backed-up branches change that situation. Learn the behavior with a small line before diagnosing a large factory through a single snapshot.
Read the guide ↗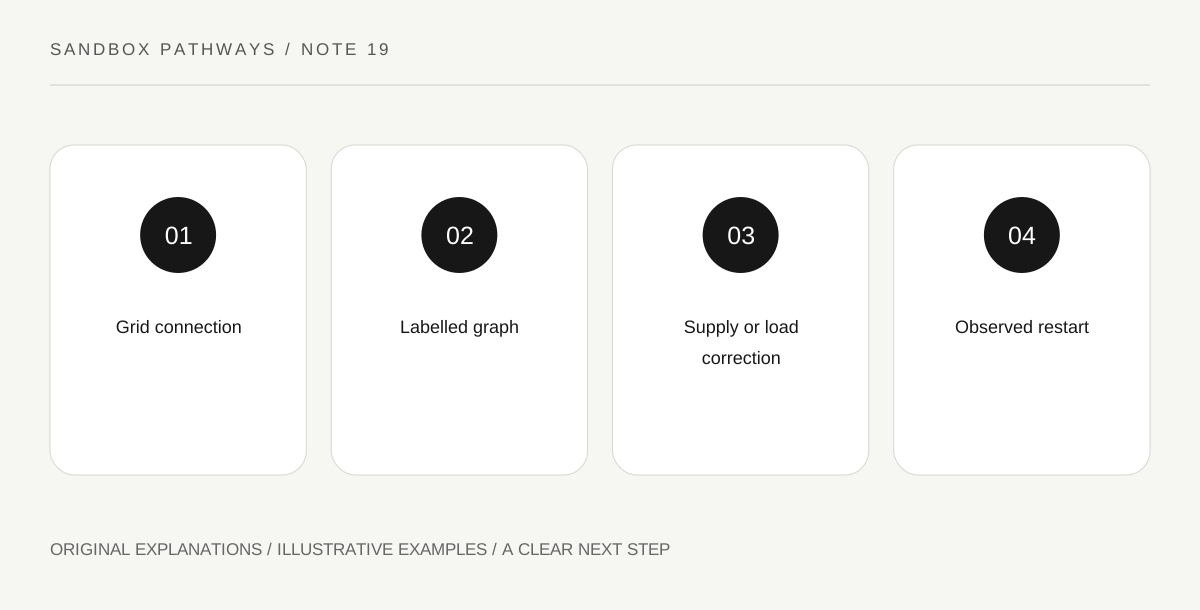
Satisfactory3 min read
A tripped factory needs more than another pull of the reset control. Read the connected grid, identify the supply-and-demand problem and change that condition first. The power graph becomes more useful when you distinguish capacity, current production and consumption instead of treating them as one number.
Read the guide ↗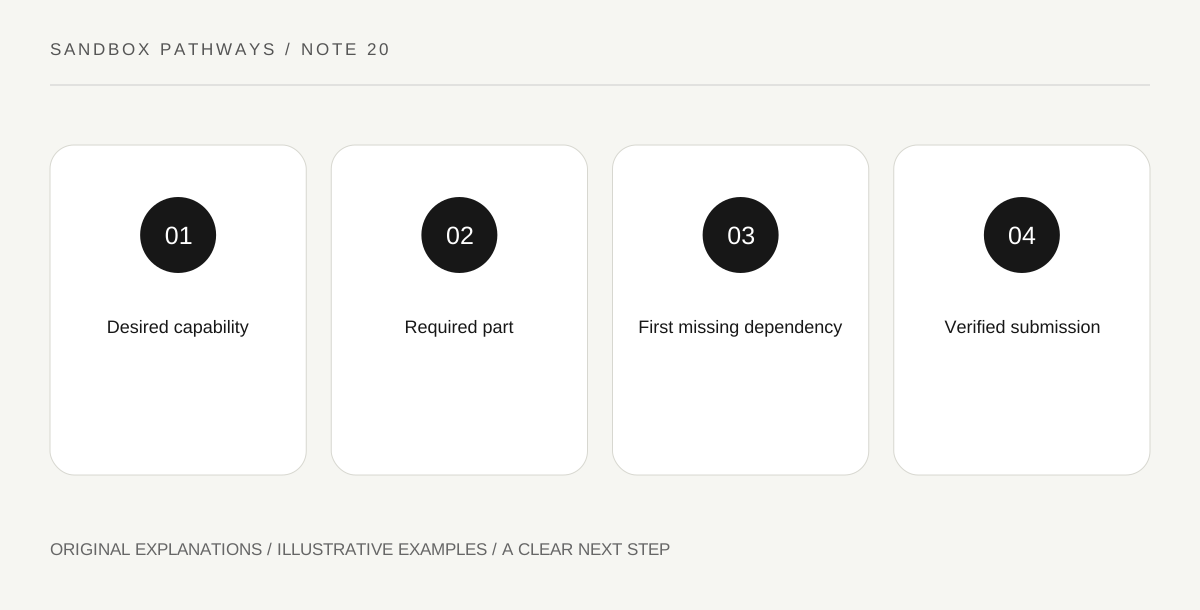
Satisfactory3 min read
A milestone material list is easier to use when you translate it into the next missing production step. Read the reward, confirm the selected milestone and separate a one-time submission from the continuing factory. Do not fund progression by losing track of the machines that must keep supplying you.
Read the guide ↗