Minecraft: learn wheat farming with a small plot
A compact wheat plot can teach the whole farming loop without becoming a large construction project. Prepare accessible farmland, plant seeds, observe development and reserve a clear purpose for the harvest. Keep the first exercise small enough that every planted position can be checked.
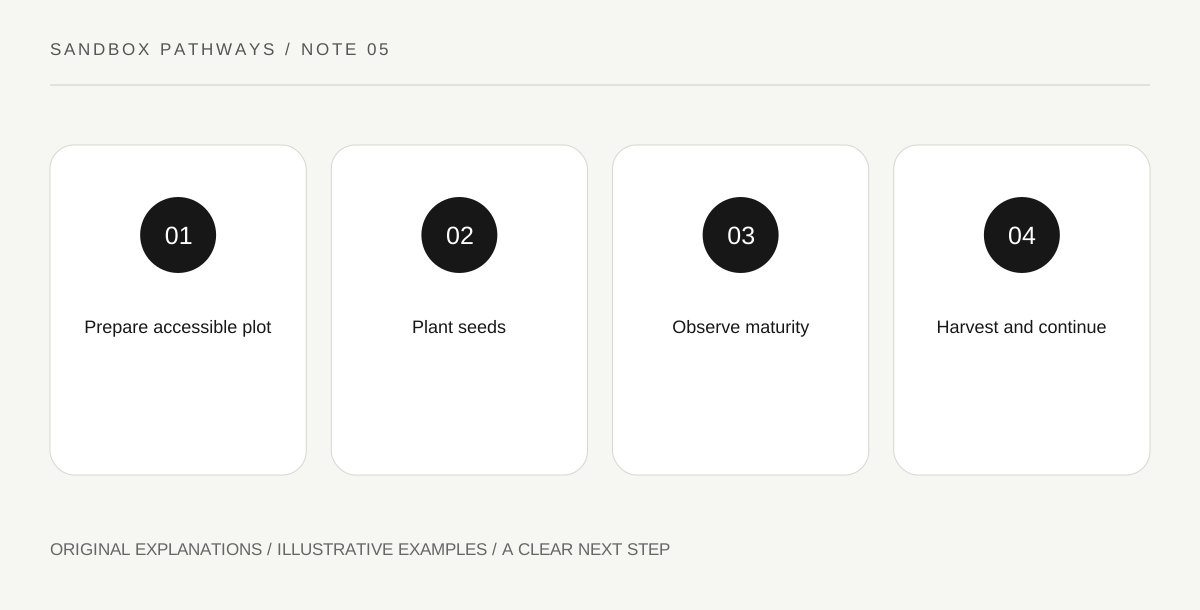
Original explanatory diagram. Read the full method and limitations below.
Give the plot an achievable job
The official wheat overview describes growing wheat from seeds in prepared, irrigated farmland. For an introductory exercise, choose a small accessible area near your usual route instead of clearing a distant field. Its job is to teach planting and harvest recognition, not to maximize output immediately. Sketch where you will stand and how you will approach each part. A compact design is easier to inspect when a spot remains empty or a plant was disturbed. Keep expansion space in mind, but do not make future scale a prerequisite for understanding the first growing cycle.
Distinguish preparation from planting
Farmland preparation and placing seeds are separate actions. Check that you selected the intended tool or item before interacting with the plot. A common beginner mistake is repeating one action while expecting the other result. Work across a short row and inspect what changed after each step. The exercise is especially useful with a small number of positions because you can account for every one. Keep a nearby path recognizable so routine movement does not become random wandering across the growing area. You are learning a repeatable sequence, not merely filling a patch with plant-like textures.
Observe before harvesting everything
Growth is a process rather than an instant reward for placing seeds. Compare plants at different stages and consult the game’s visual cues before harvesting. Do not set an invented real-time countdown and assume every plant must match it. Continue another nearby task while keeping the plot easy to revisit. For a learning record, sketch the appearance of a young plant and a mature one, then note what was collected when you harvested. This makes the feedback concrete. If an early harvest disappoints, use that observation to revise recognition rather than replacing the entire farm design at once.
Assign the harvest before expanding
Wheat has several in-game uses discussed by the official overview, including food-related crafting and interactions with certain animals. Decide which goal your next harvest serves and keep the relevant recipe or interaction separate from planting itself. Also preserve the seed supply needed to continue your exercise instead of treating every collected item as interchangeable. Expansion should follow a reason: more of a needed resource, a clearer layout or easier access. A larger plot can magnify confusion if you still cannot distinguish seed, growing plant and harvested item. Master the small loop first, then enlarge the part that actually limits your chosen task.
Illustrative practice scenario
Imagine a compact plot beside your shelter path. Prepare and plant one short row, then leave another row for a later comparison. Revisit without tearing out every plant. After recognizing maturity, collect the harvest and identify seed supply separately from wheat. Only then decide whether the next goal calls for a larger planting area or a different use of what you collected.
Practical checks
Optional checkboxes save only in this browser.
Questions that come up
Must the first wheat plot be large?
No. A small plot makes each step easier to inspect. Increase size when the basic loop and a resource goal are clear.
Should a seed look like harvested wheat immediately?
No. Planting begins a growth process. Learn the visual stages and distinguish the planted crop from the collected item.
References and scope
These sources support the factual background. Examples and exercises are original illustrative teaching material. References do not imply endorsement.
- Minecraft: wheat — Wheat grown from seed in prepared farmland and its in-game uses.